
How to Automatically Publish WordPress Posts to Social Media
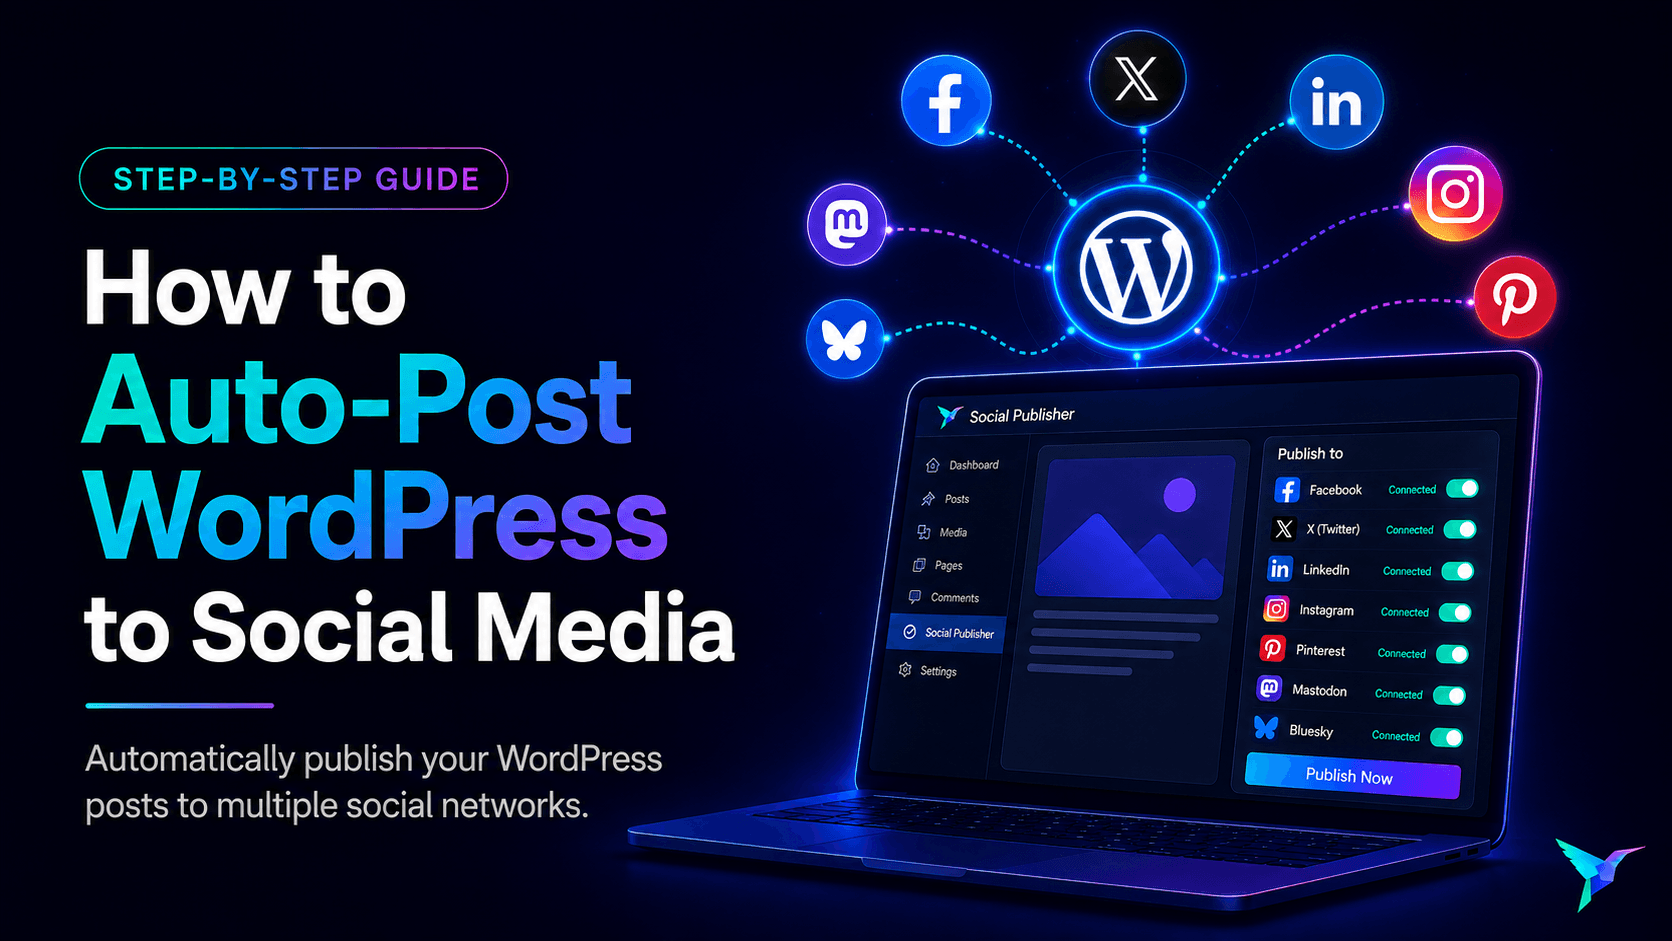
Publishing a new WordPress article is only the first part of the content workflow. Once the post is live, you may still need to open several social networks, prepare a message, add the article link, upload an image, and verify that each publication worked correctly.
Doing that manually for every post takes time and makes it easy to forget a network, use the wrong media, or publish inconsistent messages.
WordPress can automatically publish new posts to multiple social media networks. With Calliope Social Publisher, you can connect supported accounts to WordPress, prepare the social message and media from your dashboard, choose the destinations, and publish without moving between multiple platform dashboards.
In this guide, you will learn how to auto-post WordPress content to social media, connect your accounts, prepare platform-ready posts, publish to multiple networks, schedule content, review publication results, and troubleshoot common connection problems.
This guide is based on the real publishing workflow used by Calliope Social Publisher and is maintained by Calliope WP.
What Does WordPress Social Media Automation Do?
WordPress social media automation connects your website with supported social platforms so you can manage more of the publishing process from one place.
Instead of copying and pasting the same article manually into several networks, you can prepare the publication inside WordPress and choose where it should be sent.
- Write a social title and caption inside WordPress.
- Add the destination URL and relevant hashtags.
- Use the post’s featured image or select another image.
- Add meaningful image alternative text.
- Publish to multiple connected social networks.
- Use supported auto-post workflows when a WordPress post goes live.
- Schedule publications when you do not want every network to receive the post immediately.
- Review provider results and errors from publication logs.
Automation does not mean giving up editorial control. A reliable workflow should still let you review the message, media, destination accounts, link, and publication timing before content is distributed.
Which Social Networks Can You Connect to WordPress?
The current Social Publisher workflow supports several publishing destinations:
- Bluesky
- Mastodon
- Tumblr
- Threads
- LinkedIn personal profiles
- Blogger
- Telegram
- Facebook Pages
Availability can depend on the account type, API permissions, developer application status, provider review requirements, and rules established by each social platform. LinkedIn publishing in the current public release is designed for personal profiles rather than company pages.
Because social platforms can change their APIs and permission requirements, always follow the connection fields and instructions shown inside Social Publisher when setting up a new account.
What You Need Before You Start
Before connecting WordPress to your social accounts, make sure you have:
- Administrator access to your WordPress website.
- Permission to manage the social accounts you want to connect.
- A public HTTPS website.
- A published privacy policy when required by the provider.
- Access to any developer account required by the selected network.
- The application credentials, tokens, app passwords, or authorization permissions required by that provider.
Some providers require only a simple account credential or app password, while others use OAuth, developer applications, redirect URLs, permissions, tester roles, or application review.
The easiest approach is to connect one network first, publish a test, verify the result, and then add the remaining destinations.
Step 1: Install Calliope Social Publisher on WordPress
- Sign in to your WordPress administration area.
- Go to Plugins → Add New Plugin.
- Install or upload Social Publisher.
- Select Activate.
- Open Social Publisher from the WordPress admin menu.
After activation, you can configure social connections and begin preparing publications directly from WordPress.
Step 2: Connect Your Social Media Accounts
Open the Social Publisher connection settings and select the network you want to configure. Each provider has its own authentication process, so the fields you see will depend on the selected platform.
Depending on the network, the setup may require you to:
- Create or open a developer application.
- Copy the redirect or callback URL provided by Social Publisher.
- Add that URL to the provider’s developer settings.
- Enter an App ID, Client ID, Client Secret, token, app password, or other required credential.
- Complete the authorization flow.
- Select the correct Page, profile, account, blog, board, group, or channel when required.
- Save the configuration and run the connection test.
A successful login does not always mean the application has every permission required to publish. Always complete a real test publication before considering a connection finished.
Connect Facebook Pages to WordPress
Facebook Page publishing uses Meta’s authorization system. You need access to the correct Meta setup and the Facebook Page you want to manage. Pay particular attention to the redirect URL, requested permissions, and Page selection during authorization.
The following Calliope WP tutorial walks through the Facebook connection process and shows how to connect a Facebook Page to Social Publisher from WordPress.
Connect Instagram to WordPress
Instagram publishing also uses Meta’s developer and authorization systems. The account normally needs to be suitable for API-based publishing, and the redirect URI shown by Social Publisher must match the value configured in Meta.
This tutorial shows the Instagram connection workflow and how to publish an image post from WordPress using Calliope Social Publisher.
Connect Pinterest to WordPress
Pinterest requires a Business account and developer configuration for API publishing. The application may also need the appropriate access level before production publishing is available.
The tutorial below covers the Pinterest connection process, application configuration, credentials, and publishing a Pin from WordPress.
Connect Mastodon to WordPress
Mastodon is different from centralized social networks because accounts can live on different servers. In Social Publisher, the most important first step is entering the correct public Mastodon server for the account you want to connect.
This Calliope WP video explains the Mastodon connection and publishing workflow from WordPress.
Connect Tumblr to WordPress
Tumblr uses an application and OAuth authorization flow. You will need the correct blog identifier, the callback address shown by Social Publisher, and the credentials generated for your Tumblr application.
The following tutorial shows how to connect Tumblr and publish content from the WordPress dashboard.
Connect Bluesky to WordPress
Bluesky is one of the simpler connections because it uses your Bluesky handle and an App Password created inside your account settings. Use an App Password created specifically for Social Publisher rather than your normal Bluesky login password.
Step 3: Prepare Your Social Media Post
Once at least one account is connected, open the Publisher screen and prepare the content you want to distribute.
A typical publication can include:
- A social title
- The main caption
- A destination URL
- Hashtags
- An image
- Image alternative text
- The social networks that should receive the publication
Write a Social Caption Instead of Repeating the Article Title
Your social caption should give people a reason to visit the article rather than simply repeating its headline.
For example, instead of using only:
How to Improve Your WordPress Workflow
you could write:
Still copying the same content into every social network? Here are practical ways to reduce repetitive WordPress work without losing control of your publishing process.
Then add the destination URL and only the hashtags that are actually relevant to the post.
Optional: Generate Social Copy with Gemini
Social Publisher can also use Gemini as an optional writing assistant when AI generation is enabled and configured by the site administrator.
AI can help prepare titles, captions, hashtags, and complete social messages based on the context you provide. Existing WordPress content can be used as factual context so the generated copy stays connected to the source material.
AI is not required to connect social accounts or publish content. Always review generated text before sending it to a public network.
Step 4: Prepare Images for Social Media
Images have a major effect on how a WordPress post appears in a social feed. Different platforms use different preview sizes and aspect ratios, so the same image may not look identical everywhere.
Social Publisher provides image format options such as:
- Original
- Square
- Portrait
- Landscape
Choose an image with a clear focal point and avoid placing essential text or visual details too close to the edges, where a platform may crop them.
Use Meaningful Image Alt Text
When the destination supports alternative text, describe what is actually visible in the image instead of repeating the article title or stuffing keywords.
For example, Social Publisher dashboard showing WordPress social media publishing options is more useful than a generic phrase such as WordPress social media.
Step 5: Publish to Multiple Social Networks
When the post is ready:
- Review the title and caption.
- Confirm the destination URL.
- Check the hashtags.
- Select the connected social networks.
- Verify the image and alternative text.
- Publish the content.
Social Publisher processes destinations separately. That distinction matters because one provider can reject a publication while other selected networks publish successfully.
For example, Bluesky and Mastodon may publish correctly while Facebook fails because a Meta permission or token needs attention. In that situation, you can troubleshoot the affected provider without assuming the entire publication failed.
Step 6: Automatically Publish WordPress Posts When They Go Live
Social Publisher also includes WordPress editor workflows for preparing social distribution while you are writing the original article.
When the supported auto-post option is enabled for a post, you can prepare the social content, choose the destinations, confirm the media, and let the configured publication process run when the WordPress post becomes public.
This makes social distribution part of the editorial workflow instead of a separate task that can be forgotten after publishing.
If you prefer to review the live article first, you can still publish manually from the main Social Publisher screen.
Step 7: Schedule Social Media Publications from WordPress
You do not always want a social publication to appear at exactly the same time as the WordPress article.
Scheduling lets you separate website publication from social distribution. This is useful when you want to publish the article first and share it with different audiences later.
Before relying on scheduled publishing, check the WordPress timezone, the scheduled date and time, and that WordPress cron is functioning correctly on the site.
Step 8: Review Social Publishing Logs
Never assume an automated publication succeeded everywhere.
Use the Social Publisher logs to review provider responses and diagnose connection or publishing problems.
- Expired access tokens
- Missing permissions
- Incorrect Page, account, board, blog, group, or channel selections
- Invalid or unsupported media
- Media URLs that a provider cannot access
- Provider API errors
- Messages that exceed platform limits
- Authorization problems
Sensitive information is sanitized so complete passwords, access tokens, authorization codes, API keys, and similar credentials are not intentionally displayed in logs.
Should You Publish the Same Message Everywhere?
Social media automation makes it possible to distribute one message to several destinations, but that does not mean every platform should always receive identical copy.
LinkedIn often benefits from professional context, a clear insight, and an explanation of why the article matters to a business or professional audience.
Bluesky and Mastodon
Direct and conversational copy usually fits these networks well. Keep the message focused and avoid turning every post into a promotional announcement.
Pinterest depends heavily on the visual, description, destination URL, and relevance of the Pin to the selected board.
Instagram and Threads
Visual content and more conversational copy can work better than simply reproducing a formal article description.
Telegram
Telegram posts often work best when the value of the linked resource is immediately clear and the message is easy to scan.
A practical approach is to start with one strong master message and adapt it when a particular network is strategically important.
WordPress Social Media Publishing Best Practices
1. Test One Network at a Time
Connect one account, publish a low-risk test, and verify the result before configuring several destinations. This makes authentication and permission problems much easier to diagnose.
2. Review Permissions Regularly
Social platforms can expire access tokens, change permissions, or require an application to complete additional review. A connection that works today may eventually need reauthorization.
3. Prepare the Featured Image Before Publishing
If social publishing is triggered when the WordPress post goes live, make sure the featured image and other media are ready first.
4. Keep Social Messages Focused
Do not paste the entire introduction of the article into every social network. A strong social post normally needs a clear benefit, one relevant idea, a reason to click, and the destination URL.
5. Use UTM Tracking When It Helps Your Analytics
Consistent UTM parameters can help distinguish traffic generated by Facebook, LinkedIn, Bluesky, Pinterest, and other channels. Use a naming system that stays consistent across campaigns.
6. Review the First Publications Manually
Check the first posts directly on the destination platforms before making automated publishing part of your regular workflow.
7. Keep Media Publicly Accessible
Some social platforms need to download media from your WordPress site before creating the social post. Maintenance mode, HTTP authentication, security rules, CDN restrictions, or hotlink protection can prevent that request from succeeding.
Common WordPress Social Media Auto-Post Problems
The Account Is Connected, but Publishing Fails
A successful login does not necessarily mean the application has permission to publish. Review the required scopes or permissions and test the affected connection again.
The Social Post Does Not Include an Image
Confirm that the image exists in the WordPress Media Library, the public URL can be accessed without logging in, the file format is accepted by the destination, and no firewall or security rule is blocking the provider.
A Scheduled Publication Did Not Run
Check the WordPress timezone, scheduled time, cron configuration, destination connection, and any scheduling diagnostics available in Social Publisher.
Only One Social Network Failed
Do not reconnect every account automatically. Review the log for the provider that failed and troubleshoot that connection first.
The Image Looks Different on Each Platform
Different networks use different image containers and cropping rules. If the original image does not work well everywhere, choose a more suitable square, portrait, landscape, or original format for the destination.
Facebook or Instagram Suddenly Stops Publishing
Meta permissions and access tokens can change or expire. Review the current application permissions and reconnect the affected account when necessary.
The Provider Cannot Access the Image URL
Open the media URL in a private browser window. If the file cannot be accessed without logging in, the social platform may not be able to retrieve it either.
Frequently Asked Questions
Can WordPress Automatically Publish Posts to Social Media?
Yes. WordPress can automatically distribute posts to supported social networks when a social publishing plugin provides the required connection and auto-post workflow. Social Publisher integrates this process into the WordPress dashboard.
Can I Publish a WordPress Post to Several Social Networks at Once?
Yes. Social Publisher lets you select multiple connected destinations for the same publication, while keeping the result of each provider separate.
Do I Need Gemini to Publish WordPress Content to Social Media?
No. Gemini is optional and is used only for AI-assisted content generation when that feature is configured. Social account connections and normal publishing do not depend on AI-generated text.
Can I Automatically Share New WordPress Posts?
Yes. Supported editor workflows can be configured so selected social publications are processed when a WordPress post becomes public.
Can I Schedule WordPress Social Media Posts?
Yes. Scheduling allows a social publication to run at a different time from the original WordPress article when the scheduling workflow is enabled on the site.
Can I Use Different Messages for Different Social Networks?
Yes. You can prepare separate publications whenever a platform needs different copy, media, timing, or audience context.
Where Are Social Account Credentials Stored?
Provider credentials and tokens are stored locally in the WordPress database for the current site. They should be treated as sensitive information and never shared publicly.
Does One Failed Network Stop Every Other Publication?
Not necessarily. Social Publisher records destination results separately, so one provider can reject a publication while other selected networks complete successfully.
Why Can a Connected Account Still Fail to Publish?
Authentication and publishing permissions are not always the same thing. An account may connect successfully while the application still lacks a permission required to create posts, upload media, or access the selected destination.
A Better Way to Manage WordPress Social Publishing
Automatically publishing WordPress posts to social media can save a considerable amount of time when you publish frequently, manage several websites, or distribute every new article across multiple networks.
The most reliable workflow combines automation with a short editorial review:
- Create the WordPress article.
- Prepare the social message.
- Choose the destination networks.
- Check the image and alternative text.
- Verify the destination URL.
- Publish immediately or schedule the content.
- Review the publication results.
Calliope Social Publisher brings that workflow into WordPress so you can spend less time moving between platform dashboards while keeping control over what gets published.
Start with one network, complete a test publication, and expand your workflow once the connection is working correctly.